Hi crafters! It's Katarina here... Today I am bringing you this Thankful Candle card that features beautifully blended WOW! embossing powders on the flowers and foliage, creating rich, vibrant colours and a dimensional effect. Sparkling glitter adds extra shine, making it a truly eye-catching card perfect for sending warm, seasonal wishes.


Step - by - step tutorial:
- Prepare the textured background: Die cut a white oval card. Using your stencil, apply texture paste to the top of the card. Lightly sprinkle Red Earth Sparkles over the paste, tapping away the excess. Repeat with Prism Gold, then coat the entire area with Prism Silver. Set aside to dry.
- Create the embossed window: Die cut an oval window into a 6” x 6” white card. Place it into your embossing folder and run it through your die cutting machine.
- Make the flowers: Die cut the flower petals from white card. Coat them with WOW! embossing ink. Sprinkle Glass of Fizz in the middle of the petals, tap away the excess, then coat the petals in Sparkling Sunset and heat set, applying the heat from underneath first. Shape the petals and layer them to create dimensional flowers.
- Make the foliage: Die cut foliage from white card. Coat them in embossing ink. Sprinkle Admiral embossing powder, tap away excess, then coat in Castleton. Heat set.
- Create the candle pieces: Die cut all parts of the candle. Ink the bottom layers and coat the top layers and flames in embossing ink. Use Vegas Gold embossing powder on the main layers and one flame, Sparkling Sunset on the other flame. Layer all the candle pieces together.
- Prepare the card base and frame: Coat an oval frame and the edges of a 6 1/4” square card with embossing ink and Vegas Gold, then heat set. Adhere the frame around the oval window and pop the panel up on foam pads. Attach the panel with the gold edges to a 6 1/2” square white card front. Glue the glittery oval in the center, then adhere the embossed window panel on top.
- Assemble and decorate: Arrange all your flowers, foliage, and candle pieces on the card. Stamp your sentiment and heat emboss with Polished Gold Super Fine Embossing Powder. Trim around the sentiment and attach it to the card with 3D foam. Finish decorating with a gold rhinestone in the center of each flower.
Youtube tutorial:
Products I used:
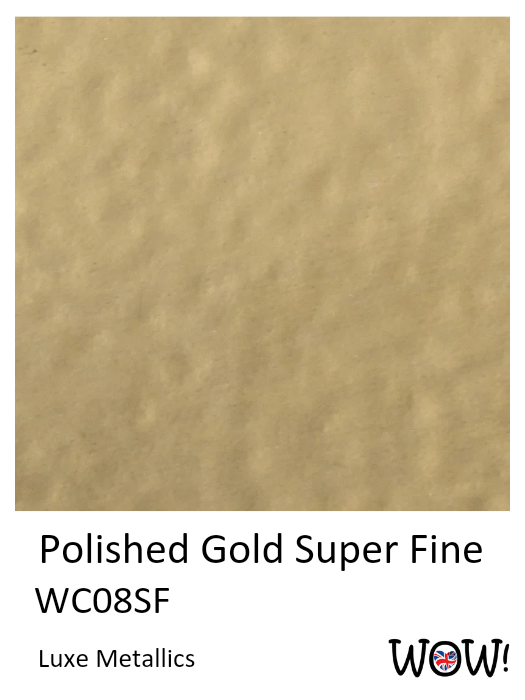 Polished Gold - Super Fine Shop at: WOW USA | WOW UK |
 Clear Ultra Slow Drying Embossing Pad Shop at: WOW USA | WOW UK |
 Dual Speed Heat Tool - **Euro** Shop at: WOW USA | WOW UK |
 Dual Speed Heat Tool - **UK** Shop at: WOW USA | WOW UK |
 Dual Speed Heat Tool - **US** Shop at: WOW USA | WOW UK |
 A Night on the Town Duo Shop at: WOW USA | WOW UK |
 Million Dollar Duo Shop at: WOW USA | WOW UK |
 Prism Gold Earth Sparkles Shop at: WOW USA | WOW UK |
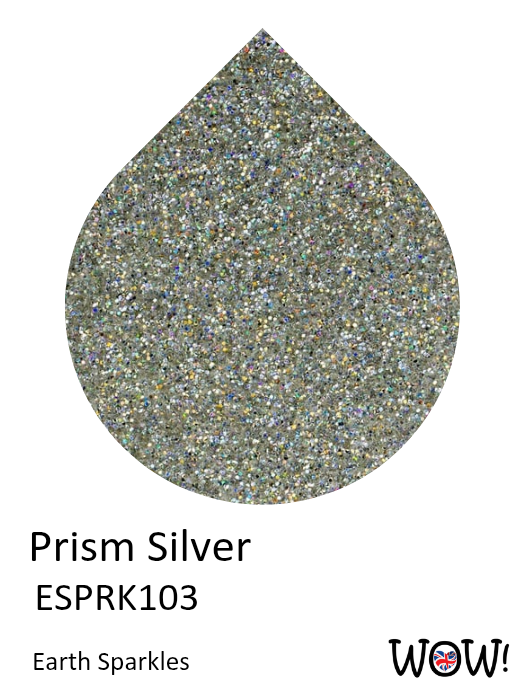 Prism Silver Earth Sparkles Shop at: WOW USA | WOW UK |
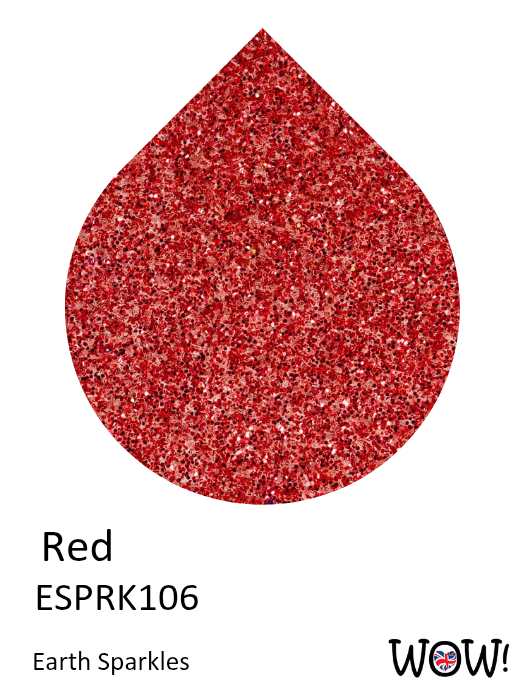 Red Earth Sparkles Shop at: WOW USA | WOW UK |
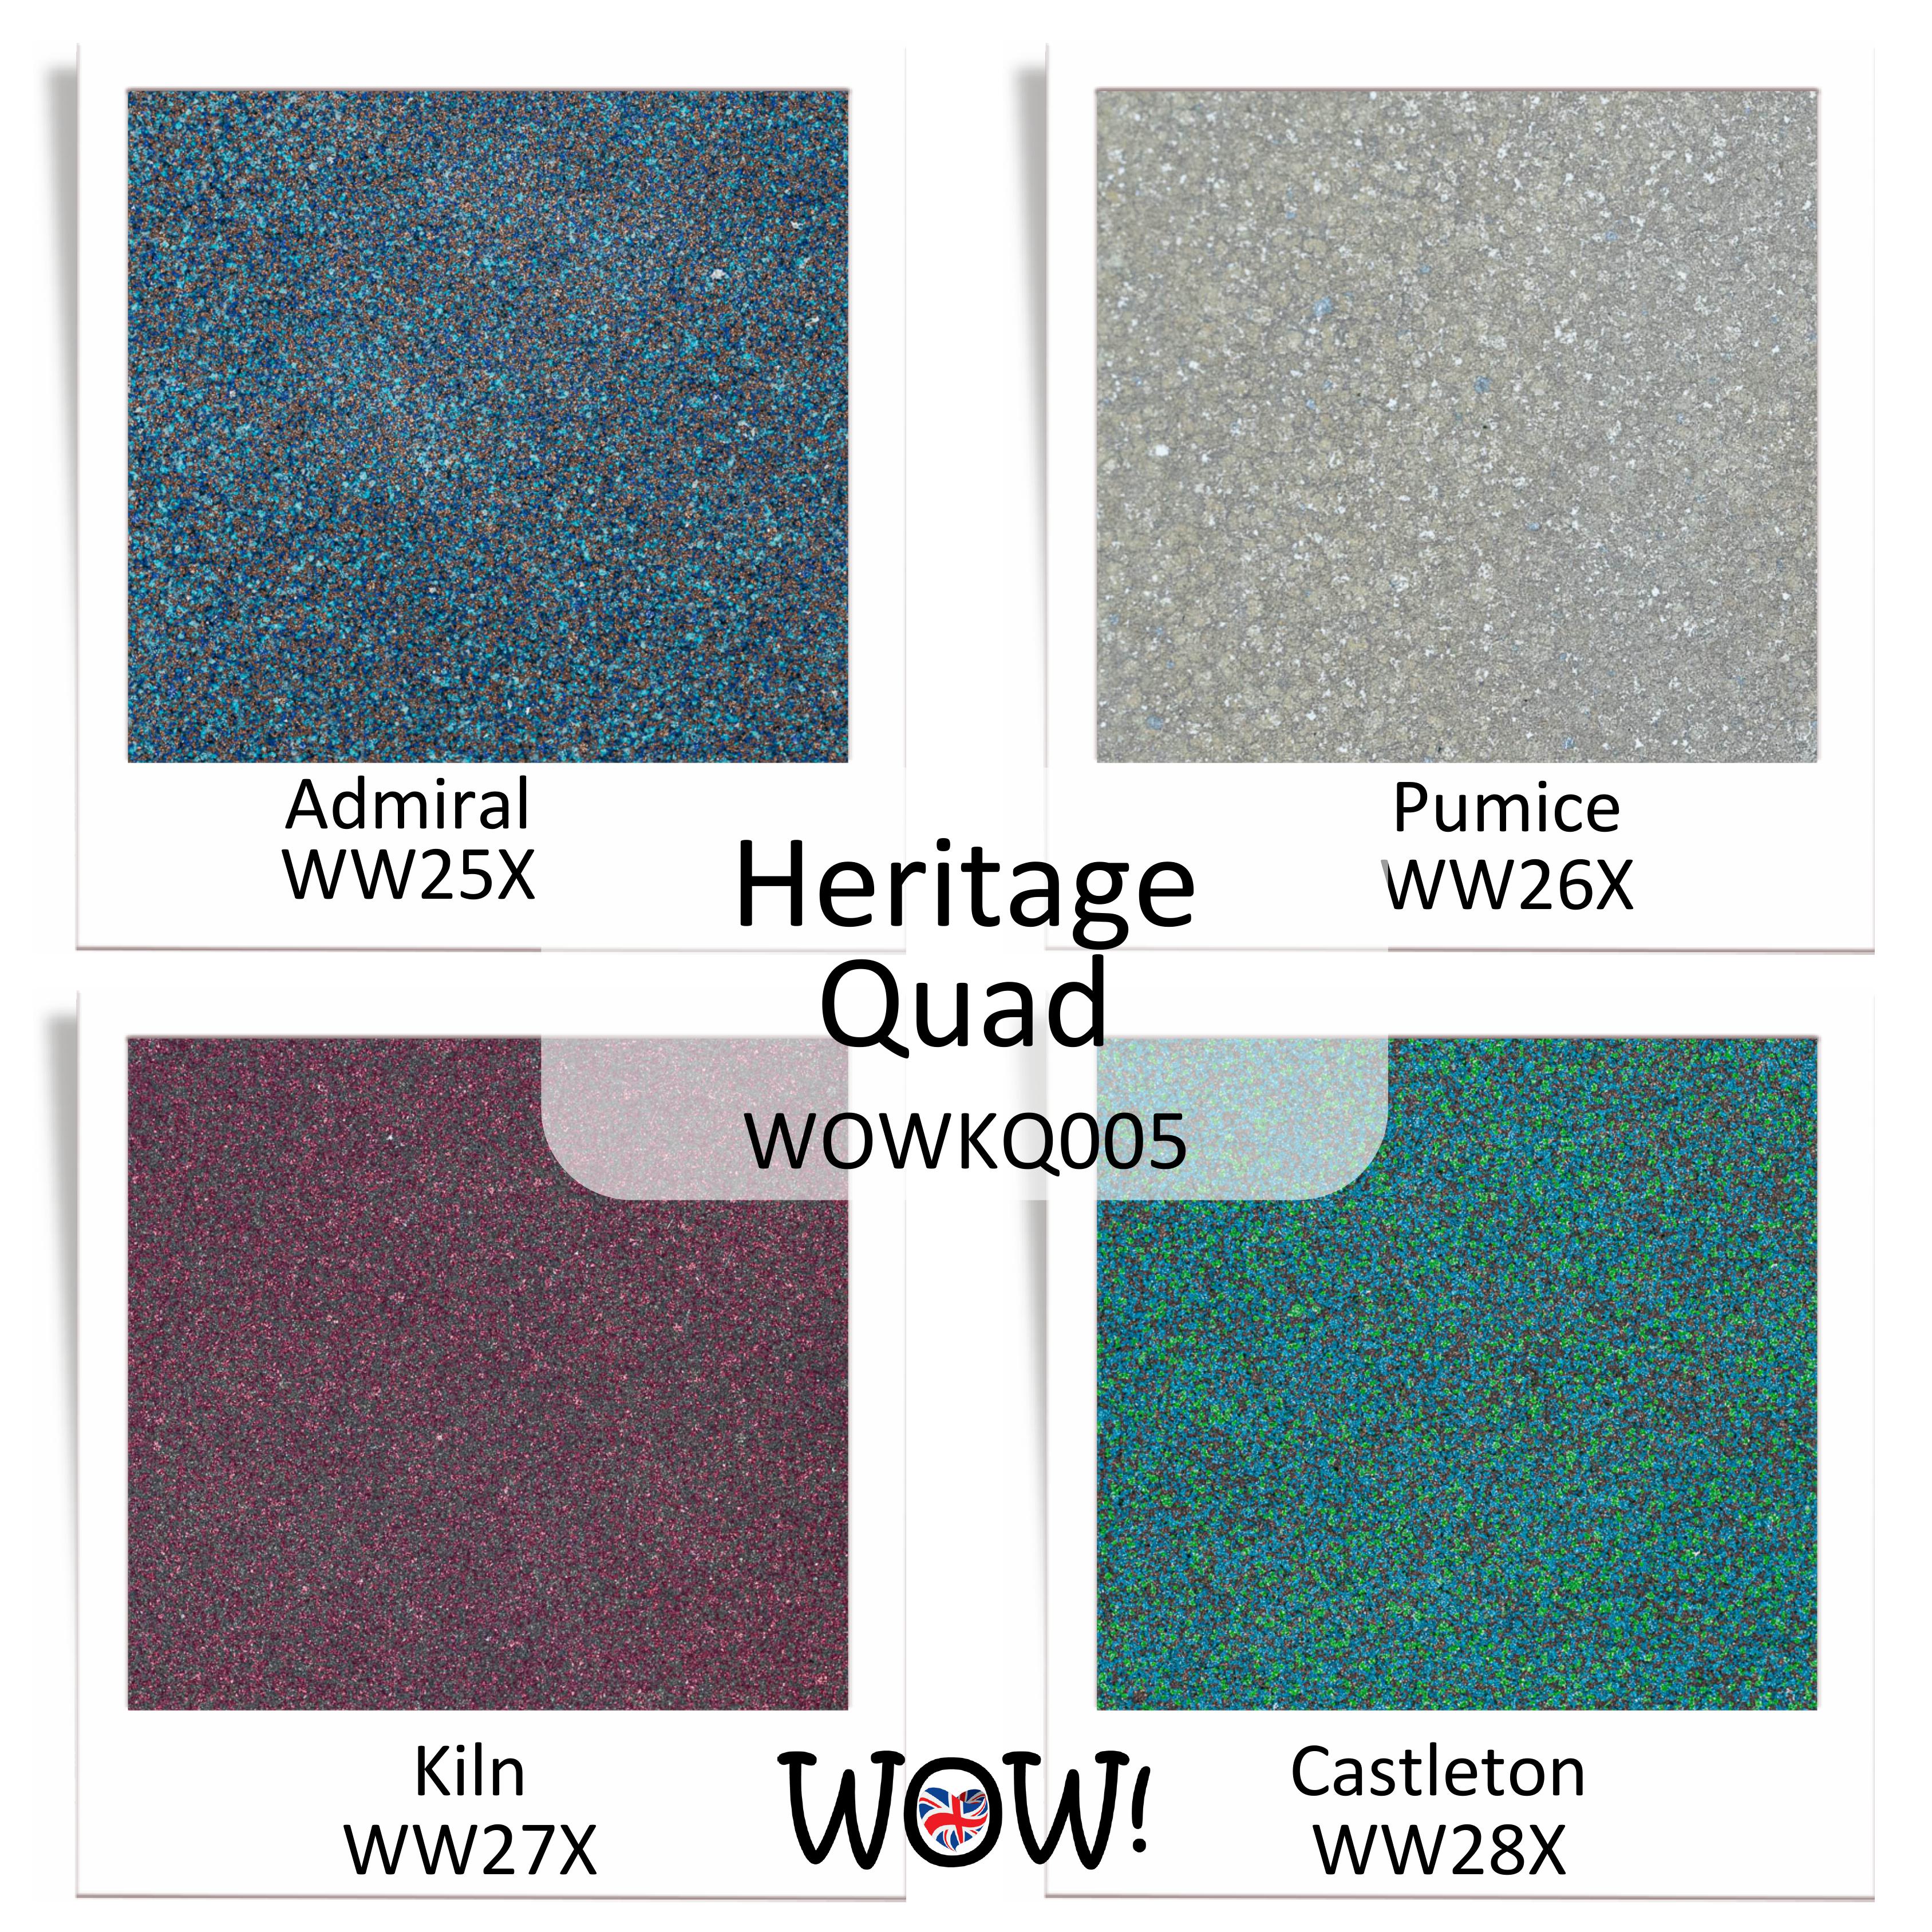 Heritage Quad Shop at: WOW USA | WOW UK |

.png)

